

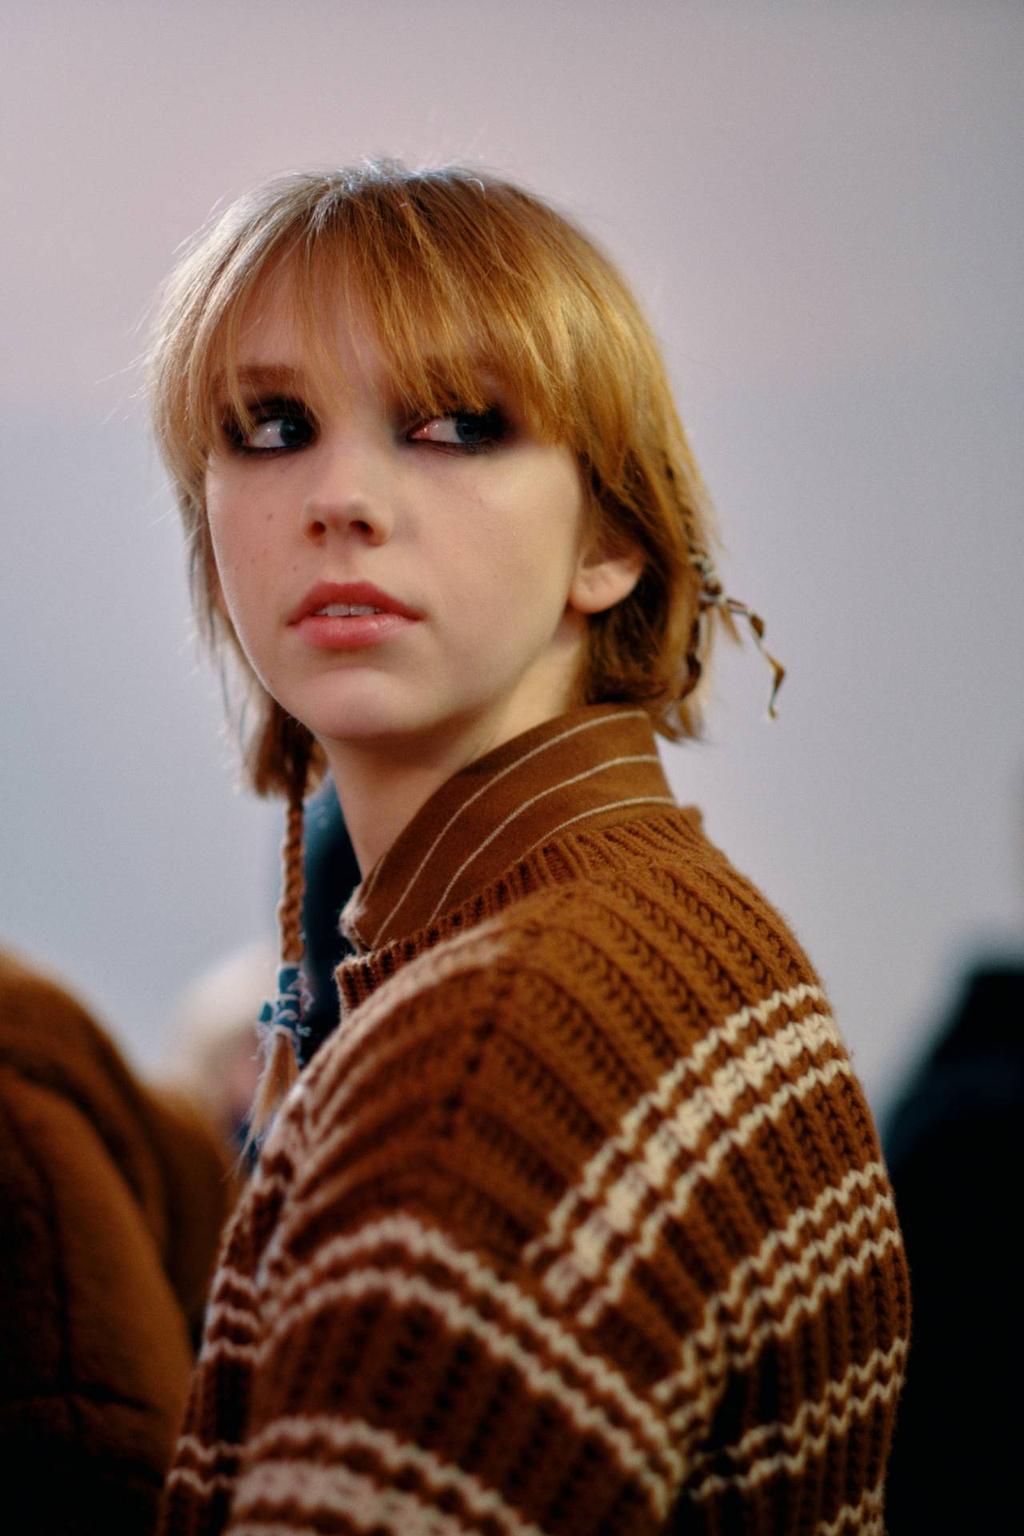
Like humans, fringes were not built for isolation. They need love, care, a steady hand, and a well-trained eye to maintain just the right amount of eyelash-dusting length and fullness. However, without the luxury of hair stylists (or if you’re a celebrity, a glam squad on speed dial) we’re looking for ways to DIY our beauty routine, and that includes maintaining optimum bangs.
From removing your gel manicure at home and shaping your eyebrows, to learning the delicate art of hair removal and even colouring your own hair, with social distancing measures in place, we’ve learned to become innovative in maintaining our at-home beauty regimens.
Even celebrities are learning the meaning of DIY. Bella Hadid recently shared via her Instagram Stories her own fringe maintenance journey during isolation, while her sister, Gigi Hadid, gave a friend an all-over haircut.
As simple as celebs make fringe-trimming appear—Hadid’s bangs looked as though they could have been fashioned by her usual trusted hair stylist, Jen Atkin—there are some golden rules to keep in mind if you plan on trimming your own. We asked RAW salon’s founder and Sydney-based hair stylist, Anthony Nader, for his foolproof tips for chopping your own fringe. The golden rule? Less is more.

Always start with a dry fringe
“Firstly never ever trim your fringe wet because, when your strands dry they will jump right up. The easiest way is either to let it dry naturally and then start your mission with natural texture, or blow it out with your brush to how you wear your fringe every day, so you know how it’s going to sit. You will notice the outline of your current fringe shape. Try not to get over-confident and create a new technical shape. Stick to what your hair stylist has already drawn in, so to speak.”
Get technical
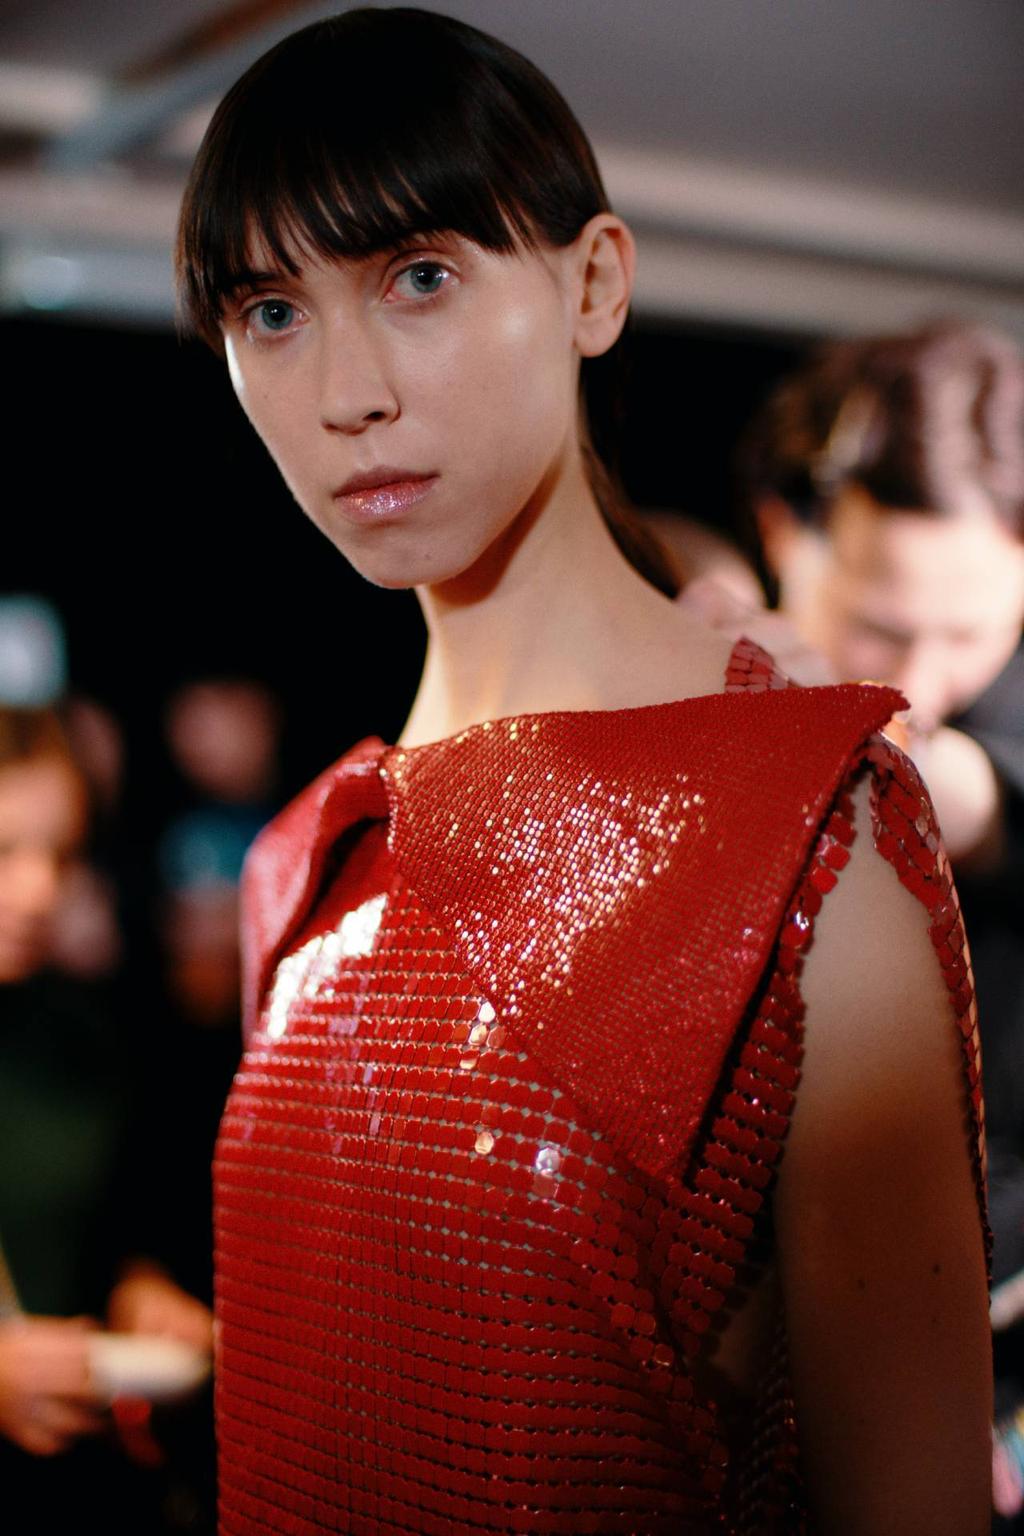
“Take your comb and section out the fringe section from the top to the edge of your eyebrow (your longer strands will automatically fall aside doing this). Clip the long hair away. Now you’re looking at a clean fringe that’s section ready for trimming.
Smooth over the surface of the fringe with your comb and position it the way you would usually style it. Put your comb down now and place the fringe section between your middle and index fingers of the hand that is scissor-free. Slide your fingers right down below your eyebrows and rest them there to hold your fringe in place. Remember not to tug the hair down tightly, as this could result a fringe that’s too short.”
How to chop
“Use your fingers as a visual guide when you cut your fringe. They’re a lot easier to work with than juggling a comb in one hand and scissors in the other. The width of your fingers also protects your face from the points on your scissors.
I always cut into the length of the fringe either vertically (which provides a slight trim) or diagonally (which takes off a little bit more length and creates some texture). Go slow here—there is no need to rush. Always trim less as you can always go back and trim more.”
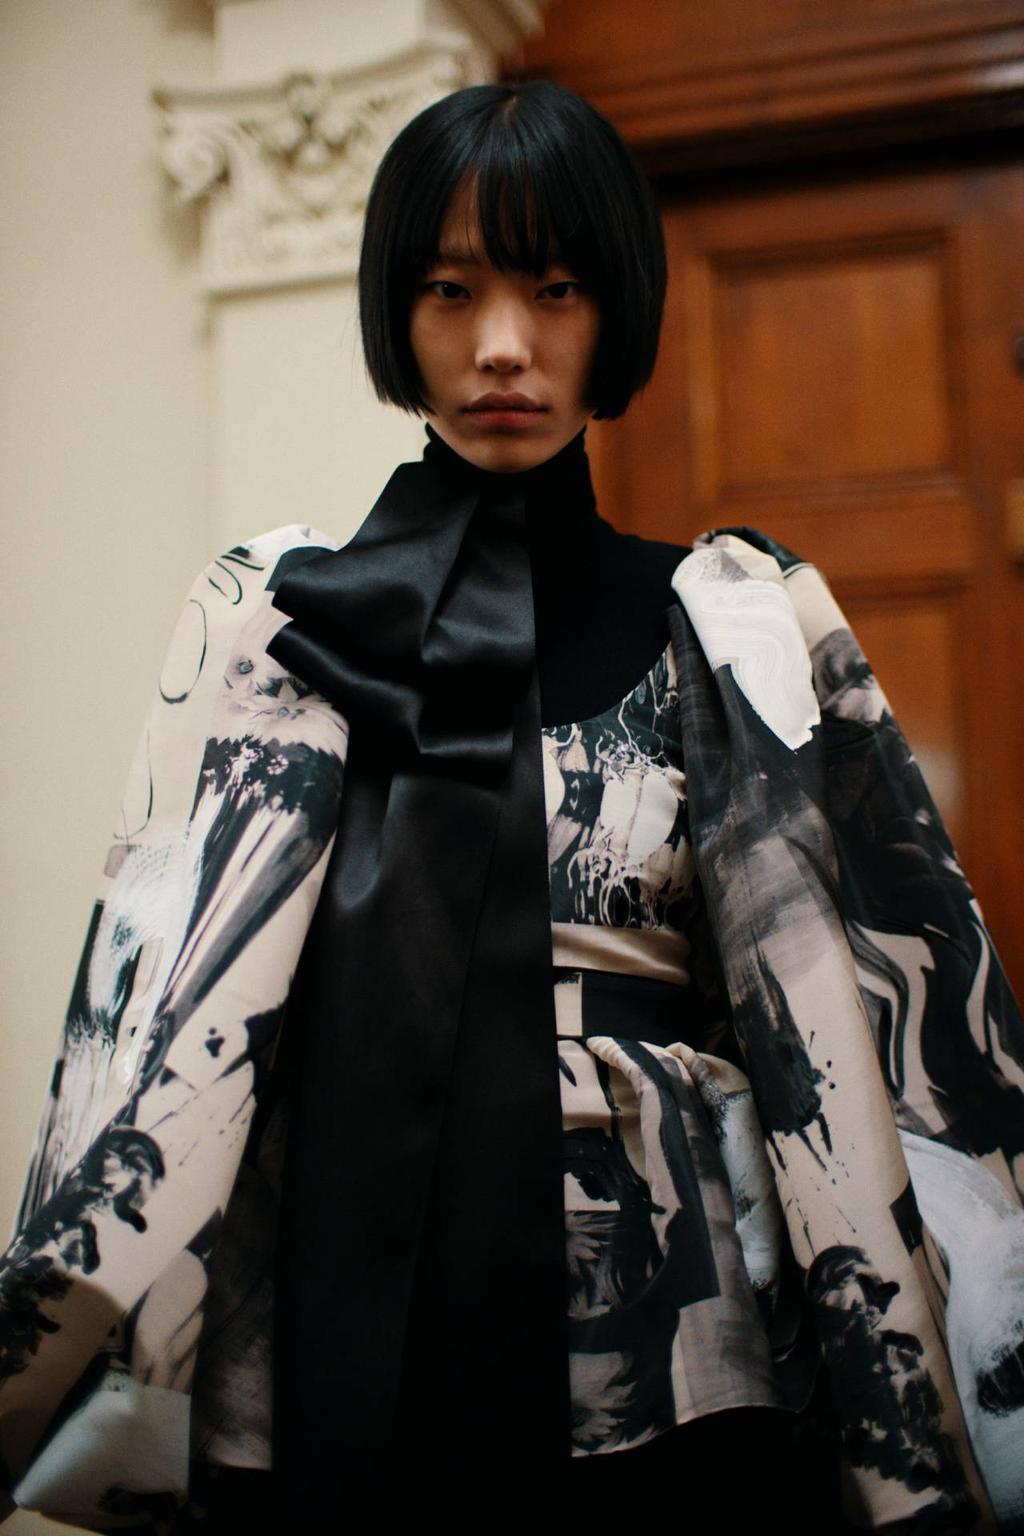
Different styles call for different measures
“If your fringe is angled slightly longer on both sides (like a curtain fringe), then hold your fingers at that angle slanting the ends of your fingers downwards to cut to the existing shape.
Lastly, give your fringe a shake out to view how it’s sitting. Any longer stray strands that you may have missed can be trimmed at either a vertical or diagonal angle. Release the rest of your hair, give your hair a shake and you’re good to go.”